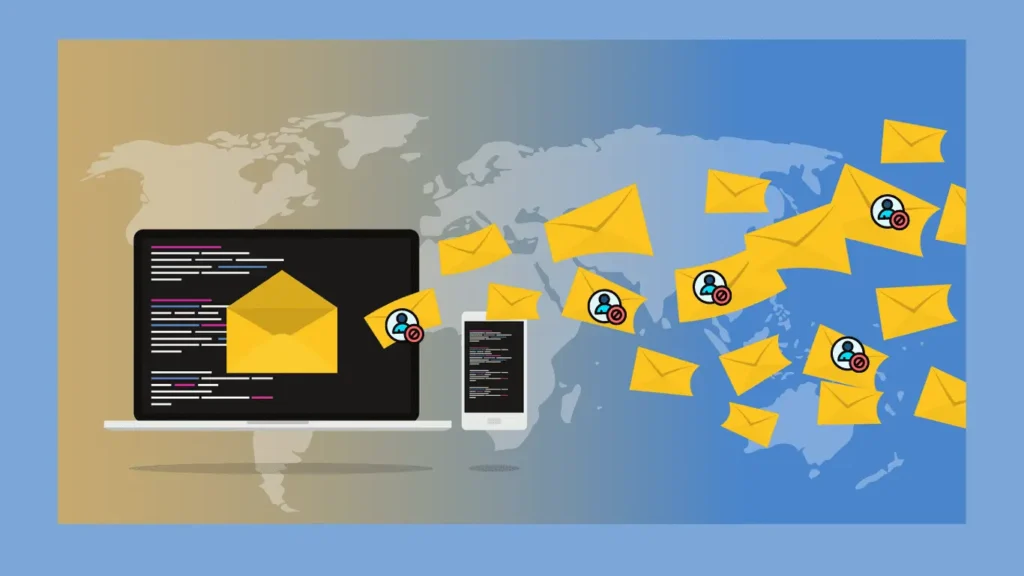
If you’re fed up with tons of newsletters and shady emails clogging up your Gmail, you’re not alone. Luckily, there are easy methods to stop them. You can block these emails to keep your inbox storage clean. Also, if you want, you can unsubscribe from them or report any suspicious ones to Google.
In this guide, we’ll walk you through how to do all of that. So, let’s get started and learn how to block emails on Gmail to keep your inbox as clean as can be.
Table of Contents
The Methods On How To Block Emails On Gmail
Method 1: Block Emails On Gmail
To block emails on Gmail, you have a few simple steps to follow, whether you’re using the web version or the mobile app. Good through this stepwise guide:
Steps For Web Browser:
Step 1. Open Gmail: Launch your preferred web browser and navigate to Gmail.
Step 2. Open an Email: Choose an email from the sender you wish to block.
Step 3. Access Options: Within the email, locate the sender’s name, and adjacent to it, you’ll find a three-dot menu icon. Click on it.
Step 4. Select Block: From the menu that appears, select the option labeled “Block [Sender’s name].”
Step 5. Confirm Block: A confirmation window will appear. Click on “Block” once again to confirm, and you’re done!
Steps For Android and iOS App:
Step 1. Open the Gmail App: Launch the Gmail app on your Android or iOS device.
Step 2. Choose an Email: Select an email from the sender you want to block.
Step 3. Access Options: Similarly, locate the sender’s name and tap on the three-dot menu icon next to it.
Step 4. Select Block: Choose “Block [Sender’s name] from the menu options.”
Step 5. Confirm Block: Once again, confirm the block by tapping on “Block” in the confirmation window that appears.
Note: Regardless of whether you’re using the web version or the app, the process remains consistent. After confirming the block, you’ll receive a confirmation message indicating that the sender has been successfully blocked.
This action ensures that you no longer receive emails from the blocked sender, providing a cleaner and more streamlined inbox experience.
Method 2: Unsubscribe To Emails On Gmail
Sometimes, blocking isn’t the only solution to managing unwanted emails in your Gmail inbox. Unsubscribing from senders can be an effective way to reduce clutter and regain control. Here’s how you can unsubscribe on various platforms:
Steps For A Web Browser:
Step 1. Open an Email: Start by opening an email from the sender you wish to unsubscribe from.
Step 2. Locate the Unsubscribe Button: Look for the Unsubscribe button next to the sender’s name. It’s typically highlighted in blue for easy identification.
Step 3. Click to Unsubscribe: Simply click on the Unsubscribe button. On the confirmation page, confirm your decision by tapping on Unsubscribe.
Note: Most of the time, this action will instantly remove you from the sender’s mailing list. However, some senders may require you to visit their website to complete the process.
On the Android and iOS App:
Step 1. Open the Gmail App: Launch the Gmail app on your Android or iOS device.
Step 2. Find the Unsubscribe Button: Similar to the web browser, locate the Unsubscribe button next to the sender’s name. It should be easily visible.
Step 3. Tap to Unsubscribe: Tap on the Unsubscribe button to opt out of receiving further emails from the sender.
Read Also: How To Use ChatGPT To Make Money In 2024
Alternative Method On Mobile Apps:
Step 1. Access the Email Options: For emails where the Unsubscribe button isn’t readily available, tap on the three-dot menu icon located in the top-right corner of the screen.
Step 2. Select Unsubscribe: From the list of options that appears, choose the Unsubscribe option. This will initiate the process of unsubscribing from the sender’s emails.
That’s all. These steps can help you to efficiently manage your Gmail inbox by unsubscribing from unwanted senders, reducing clutter, and ensuring that your inbox remains organized.
Method 3: You Can Report Emails On Gmail
In addition to blocking and unsubscribing from email addresses, Gmail offers the option to report emails that you find problematic. This can be particularly useful when dealing with excessive or unwanted messages.
By reporting an email as spam, you can ensure that future emails from the sender are automatically directed to your Spam folder, reducing the clutter in your inbox. Here’s how you can report emails on both the web and mobile versions of Gmail:
Steps For Web Browser:
Step 1. Navigate to the Email: Log in to your Gmail account via a web browser and open the email you wish to report.
Step 2. Click “Report Spam”: At the top of the email, you’ll find an exclamation icon labeled “Report spam.” Simply click on it to report the email and move it to your Spam folder.
Step 3. Report Phishing: Additionally, if you suspect that an email may be a phishing attempt, you can take action by following these steps:
- Click on the three-dot menu next to the sender’s name.
- Select “Report phishing” from the options provided.
- Confirm by clicking “Report Phishing Message.”
Steps For Android and iOS App:
Step 1. Open the Email: Launch the Gmail app on your Android or iOS device and access the email you want to report.
Step 2. Tap “Report Spam”: Tap on the three-dot menu located at the top-right corner of the screen.
Step 3. Select “Report spam”: Choose the “Report spam” option from the menu. This action will promptly move the reported email to your Spam folder.
Undoing A Report:
If you accidentally report an email as spam or phishing, you can easily reverse the action:
Web Browser: Go to your Spam folder, select the email, and choose “Report not spam.”
Mobile App: Similarly, in your Spam folder, select the email and tap “Not spam” to undo the report.
That’s all. Using these reporting features, you can effectively manage unwanted emails and maintain a clutter-free inbox on both the web and mobile versions of Gmail.
Read Also: Guide On How To Create A Poll On WhatsApp In 2024
How Do You Know That Someone Blocks Emails On Gmail?
If you send an email through Gmail but never get a reply, it could mean you’re blocked. When someone blocks you, your emails go to their spam folder, and they don’t get notified about your messages.
If you still can’t find it here, we’ll go through the simple methods to determine if someone has blocked your emails on Gmail:
Method 1: Check Contacts.
Look for the person’s email address in your contacts. If it’s not there and you haven’t deleted it, they might have blocked you. To do this on a computer:
- Sign in to Gmail on Chrome.
- Click on the grid icon at the top right.
- Choose “Contacts” to see your contacts list.
- On the phone, use the Google Contacts app.
Method 2: Chat History.
If you used to chat with them on Gmail but can’t find your conversations, they might have blocked you. To check on a computer:
- Sign in to Gmail on Chrome.
- Click on the grid icon at the top right.
- Select “Chat” to see your chat history.
- On the phone, use the Google Chat app.
That’s all; These methods help you figure out if someone has blocked your emails on Gmail by checking your contacts and chat history.
Read Also: iPhone Alarm Not Going Off? Here’s The Solution
Conclusion
We’ve wrapped up this guide, here we’ve tried to address all your concerns related to block emails on Gmail. Feel free to ask any questions about related topics or share any issues in the comments below; our team is available to assist you. Stay tuned with us for more posts on tech guides.